How to renew or reissue your passport upon expiry

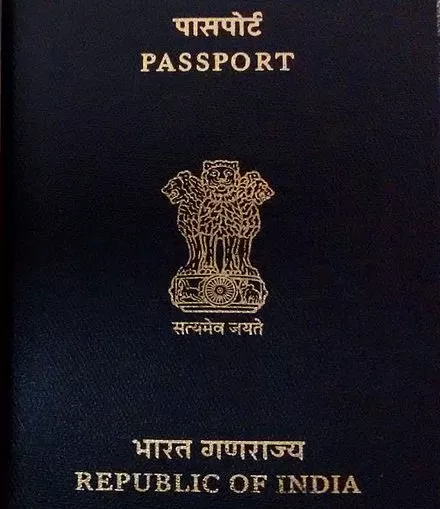
Passport is a document required for travelling to other countries. It is not an assurance of getting into a foreign country but more of a pre-requisite. Moreover, it is also used as an identification document.
They generally do not require renewal or reissue very often, but in case you’re going through either of them, read this article till the end to know about the whole process.
Also read: How to apply online for Indian passport
Difference between renewing and reissuing a passport?
There’s a difference between the two words renew and reissue. A passport is renewed when the passport’s validity has expired and a passport is reissued during the following conditions:
* Expired or about to expire passport
* Lost or stolen passport
* Damaged Passport
* Revision of personal details
* Termination of pages.
A new passport is issued in case of renewal of a passport and the expiry date is extended when applied for reissuing a passport.
Let us now look at the steps to know how to renew or reissue passports.
Steps to renew or reissue passports
Step 1: Enroll yourself at Passport Seva Portal
The first step is to get yourself registered on the Passport Seva website. Click on the “New user register” tab and you have to go through the following steps:
Enter name, date of birth, mail ID, login ID, hint question, and a password.
Select the nearest passport office
Activate your account using email activation
After successfully logging in as an existing user, there appears a menu, click on the “Apply for fresh/Re-issue of passport” tab there.
Step 2: Next you have to choose between two alternatives:
Alternative 1: To fill out the form online
Alternative 2: To download a copy of the form, fill it offline, and then submit it in the portal again.
Choosing the first option helps you to carry out the whole process of form filling online, while choosing the second option lets you download the form, fill it with a pen and submit the same on the portal again.
It is completely your choice to choose any of the alternatives, but it is always better to choose the former as it is convenient and less chaotic than the latter.
In both the alternatives, you need to fill in the following details:
* Present address information
* Spouse/ Father related information as required in the document
* Local References and their personal information as required in the document
* Analyse the form clearly as the details cannot be changed later and you may need to start the whole process again from the scratch.
Step 3: Schedule an appointment
After successful submission of the application, click on ”View saved/submitted application” followed by “Pay and Schedule Appointment”. Pay online through any of the accepted modes of payment and make sure you print the application by clicking on the “Print Application Receipt” tab. After the successful booking of the appointment, you need to report to the Passport office on the designated date and time for verification of documents.
Try not to miss the scheduled appointment because if you do then again you need to re-apply for booking a slot at the Passport office.
Step 4: Verification of Documents
From the home page of Passport Seva, go through the form containing “Document Advisor for Renewal/Reissue” so that you don’t miss out on any document during the appointment. The documents required are merely regarding basic information about your personal details, address proof, and details about your father/spouse.
Once your appointment is successfully completed and your application has been approved by the Passport Seva Kendra, you shall receive your passport at the registered address in a few days. You can also track your application status by using your Passport login credentials.


